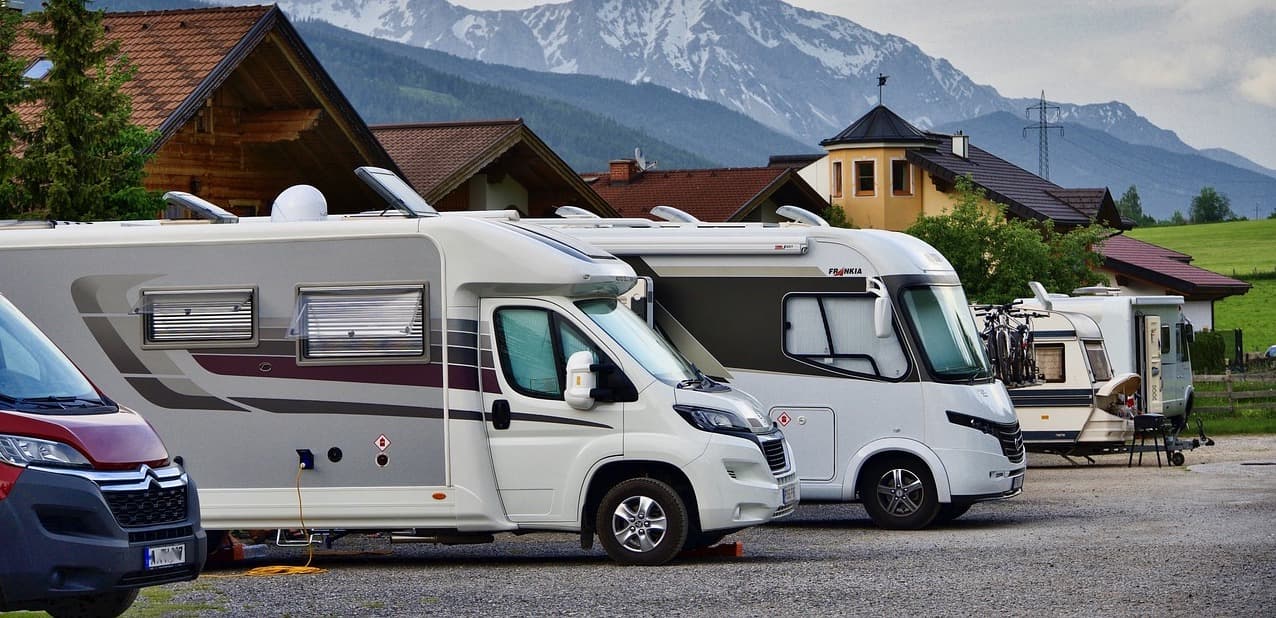
RV classes & RV types review
Published: Sep 4, 2023, 11:32 AM
Published: Sep 19, 2023, 11:32 AM
As the vibrant colors of autumn give way to the crisp chill of winter, many RV enthusiasts start to think about stowing away their mobile homes. To prevent damage from the cold and snow, you should prepare your RV for winter if you own one. This guide describes how to prepare RV for a long winter break.
Water draining is one of the essential stages in winterization.
![]()
This step is important for a few critical reasons:
Prevention of Frozen Pipes and Fixtures. If water remains in the plumbing system of your trailer and it freezes, the expansion can cause pipes to burst, tanks to crack, or fixtures to break.
Avoidance of Contamination and Mineral Buildup or Corrode. Over time, stagnant water can become a breeding ground for bacteria, mold and mildew growth and can lead to mineral buildup or corrode.
Avoiding Unpleasant Odors. If a waste tank is not properly drained, it can emit foul odors. By ensuring they're emptied and cleaned, you're eliminating potential sources of bad smells.
Weight Reduction. If you're storing or moving your RV to a storage place, empty water tanks can reduce the overall weight, making it easier to tow or maneuver.
Steps to drain all liquids:
![]()
Some water may still remain in your RV's pipes, valves, and fixtures even after you drain them. This water can cause harm if it freezes and expands when it gets cold. RV antifreeze can stay liquid at much colder temperatures than water, so it can protect your plumbing system from freezing.
Also antifreeze helps to keep seals, rubber parts, and moving components within the plumbing system lubricated during the offseason. This can extend the life of these parts and prevent leaks or failures when you de-winterize.
Bypass and antifreeze filling steps:
You can winterize your RV without antifreeze in your plumbing system by this way:
![]()
Winter months can be particularly harsh with a mix of precipitation – snow, rain and ice. If water infiltrates your mobile home through corrupted seals or seams and remains stagnant, it can create the conducive environment to grow mold and mildew.
If the seals or seams are not tight, they can let warm air escape and cold air enter, which can make the RV less cozy if you use it in colder months.
Water infiltration can weaken the structural components of an RV, leading to issues like delamination of the walls, floor sagging, and ceiling problems. Here you can see an example of a roof problem. It's so important to prevent leaks in time, because a big problem began from a simple crack. These repairs can be extensive and costly especially if Electronic Components and appliance be damaged.
Steps to Check Seals and Seams:
![]()
You need to clean and defrost your RV's fridge before you winterize it for several strong reasons.
By cleaning and defrosting the refrigerator, you remove the conditions for mold and mildew need to grow, ensuring you won't open your RV in the spring to an unpleasant surprise.
Food remnants can produce unpleasant odors over time, especially in a closed-up space. Cleaning out the fridge ensures you won't have to deal with foul smells when you're ready to use your RV again.
Also, food remnants can attract pests, which might see your closed-up RV as a great place to nest over the winter.
If your refrigerator has a significant amount of frost, when it melts, it could produce more water than the drip pan can handle, leading to potential water damage.
By taking care of this task in the winterization process, you simplify your preparations when you're ready to use the RV again.
Steps to Clean and Defrost the Refrigerator:
![]()
A well-maintained battery is a safe battery. It's care Overlooking can lead to issues like acid leaks or, in extreme cases, explosions, which pose safety hazards. In freezing temperatures, a discharged or weak battery can freeze. A frozen one can crack its casing, allowing acid to leak out.
Batteries self-discharge over time, even when not in use. If a trailer battery is left discharged for an extended period, it can suffer from sulfation. This process and full discharging can reduce the battery's capacity and lifespan.
Steps to protect the battery:
![]()
Proper tires care can prevent flat spots, premature aging, and other damage that can occur when an RV is not in use.
Steps to Care for the Tires:
Also there is some important actions that you shouldn't to forget to winterize your RV:
![]()
Remove all liquids that might freeze and burst, and consider taking out canned goods which can freeze and split.
![]()
Close any openings that might invite pests. Use steel wool for larger gaps and spray foam insulation for smaller holes. Consider natural repellents or commercial products to deter rodents and insects.
![]()
If you're storing your mobile home outdoors, invest in a quality RV cover. It should be breathable to prevent mold and mildew but durable enough to shield from snow, rain, and UV rays.
![]()
Make sure your RV insurance is up-to-date. Even in storage, unexpected events can occur. Also, if your mobile home is stored in a location away from home, ensure it's in a secure place.
Winterizing your RV is an essential routine to ensure your investment remains in good condition, ready to hit the road once the warmer weather rolls back in. By following this step-by-step guide, you can rest easy knowing your mobile home is safe from winter's grasp, but it might be a good idea to periodically check your RV throughout the winter months. Safe travels, and see you in the spring!
