RV roof coating is your first line of defense against leaks, UV rays, and harsh weather. At RV Roof Worx, we’ve completed over 500 roof coatings, rigorously testing every material and technique. In this guide, we'll share our proven method, offer cost insights, and explain why silicone coatings outperform acrylic alternatives for lasting protection.
Step-by-Step RV Roof Coating Process
-
Inspection for Damage
- Before coating, thoroughly inspect your RV roof. Look specifically for cracks, soft spots, and damaged areas needing repair.
-
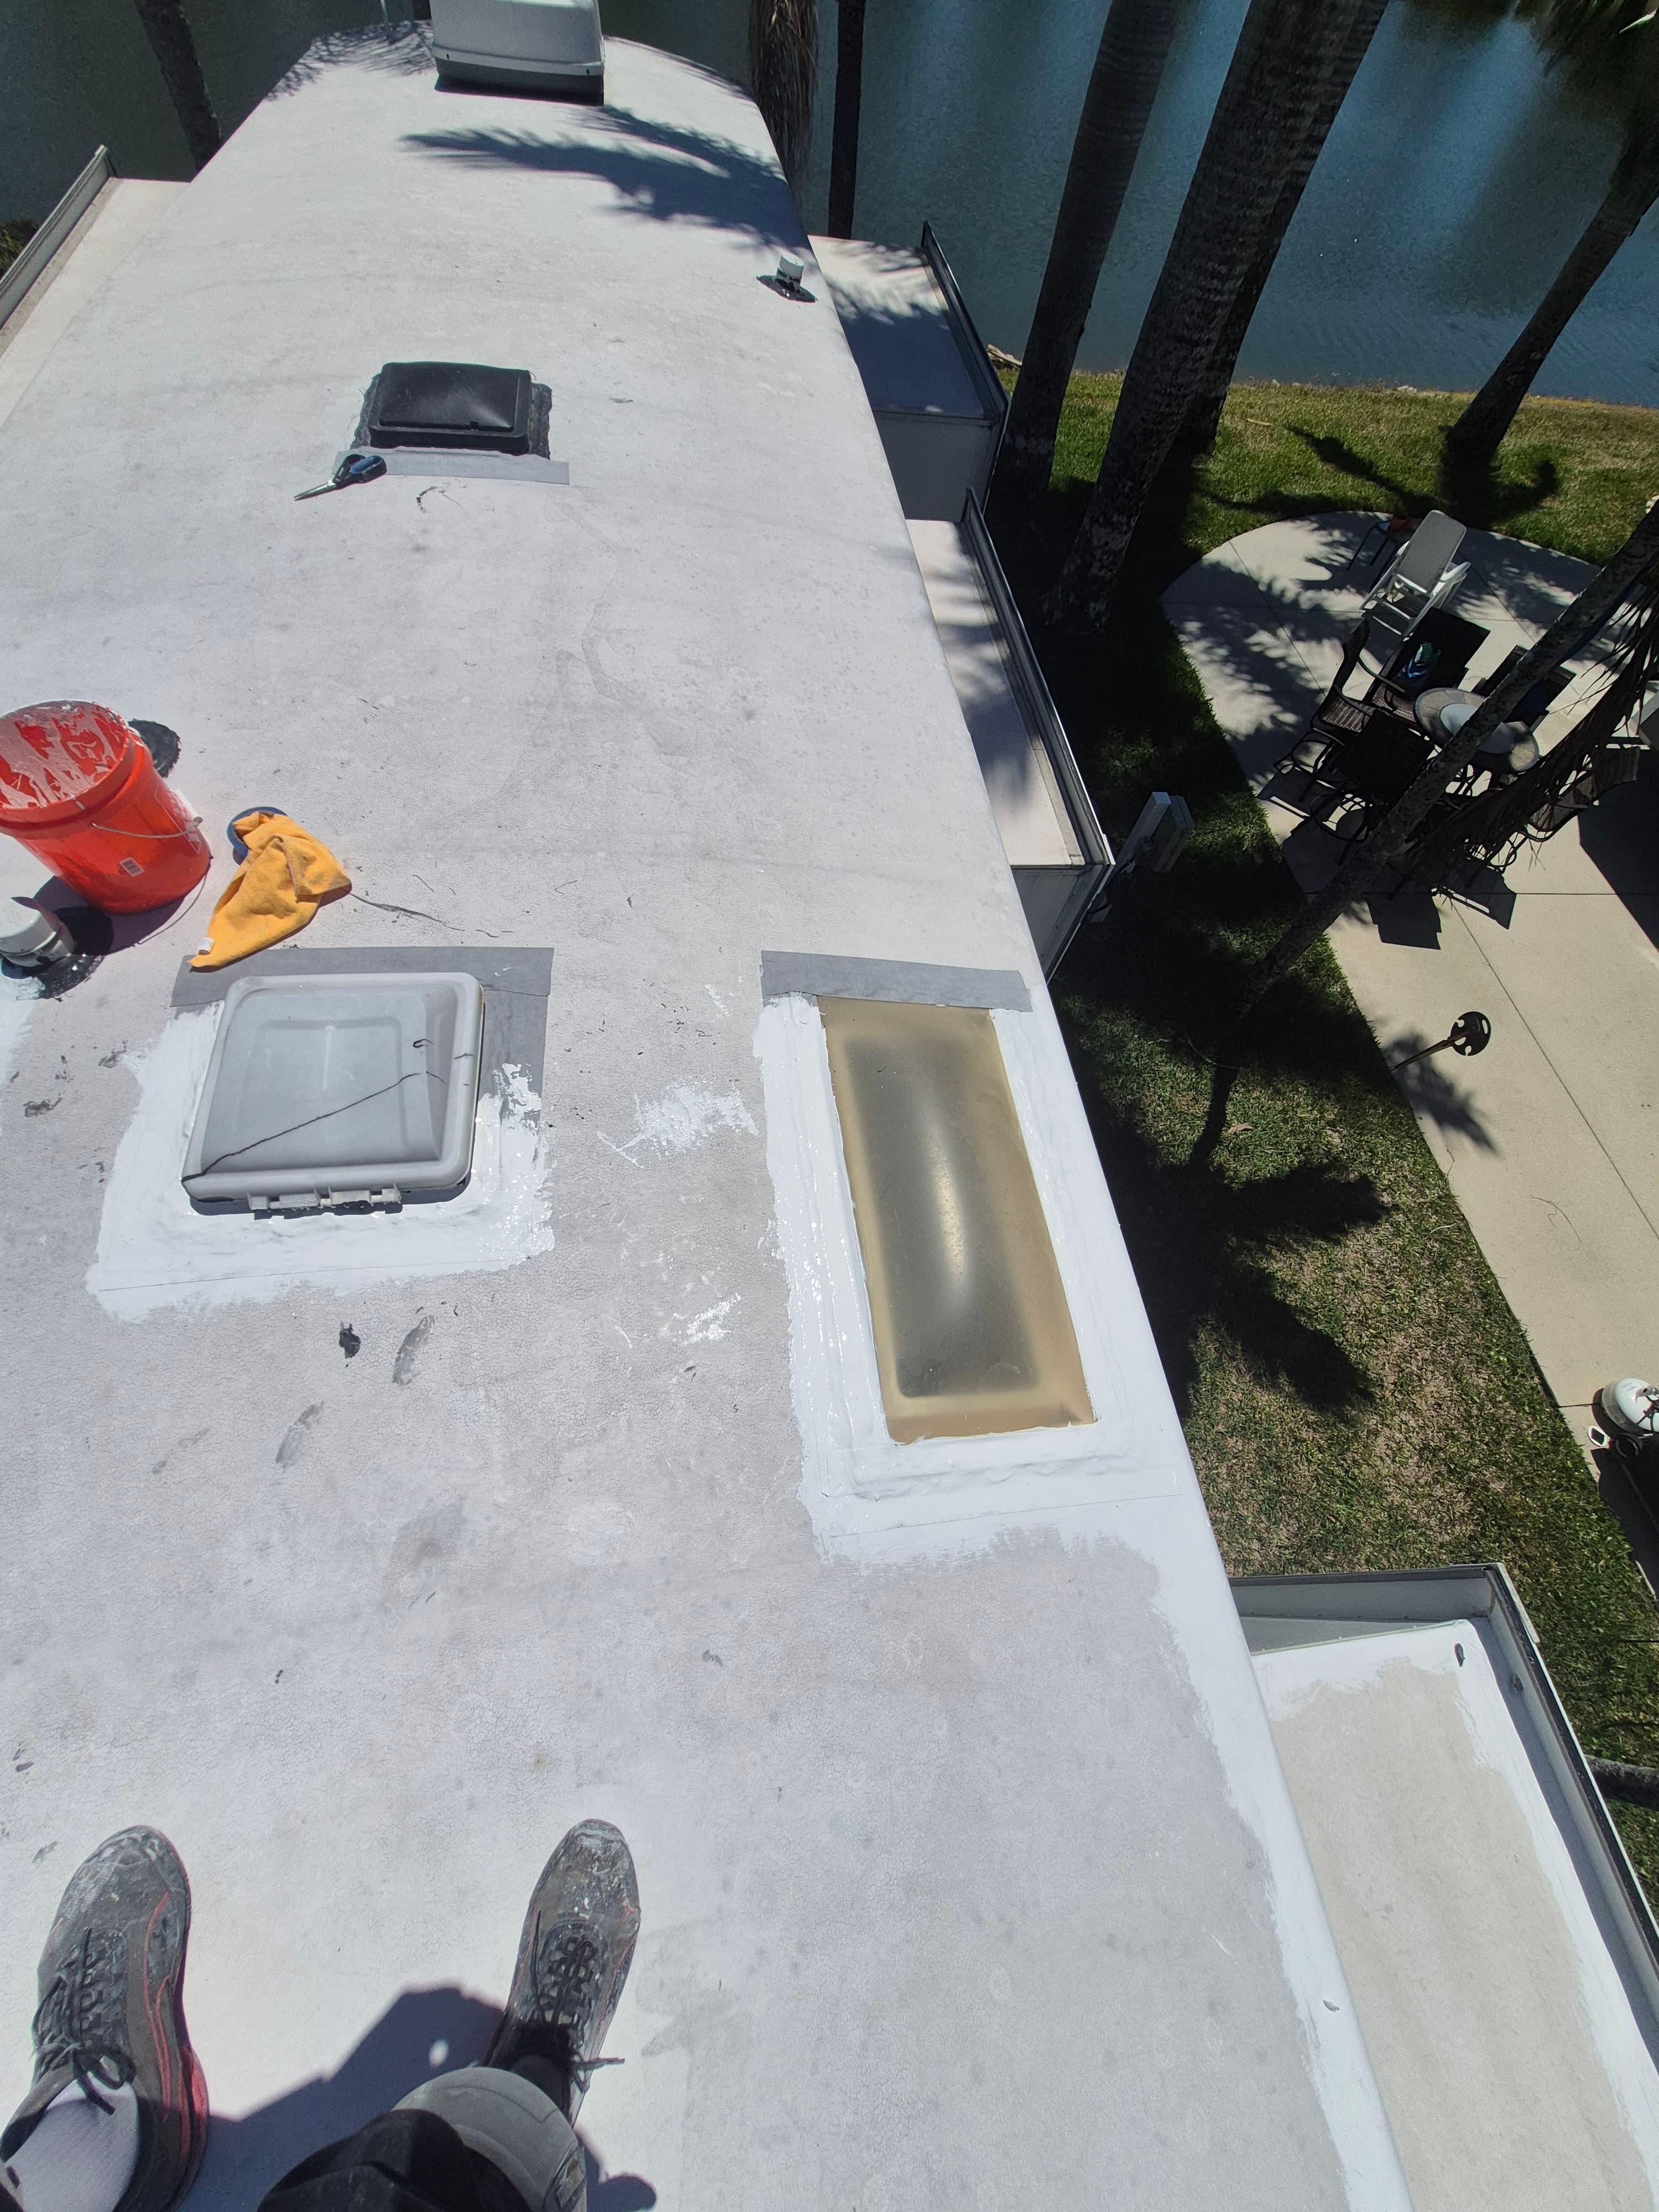
Roof Cleaning and Preparation
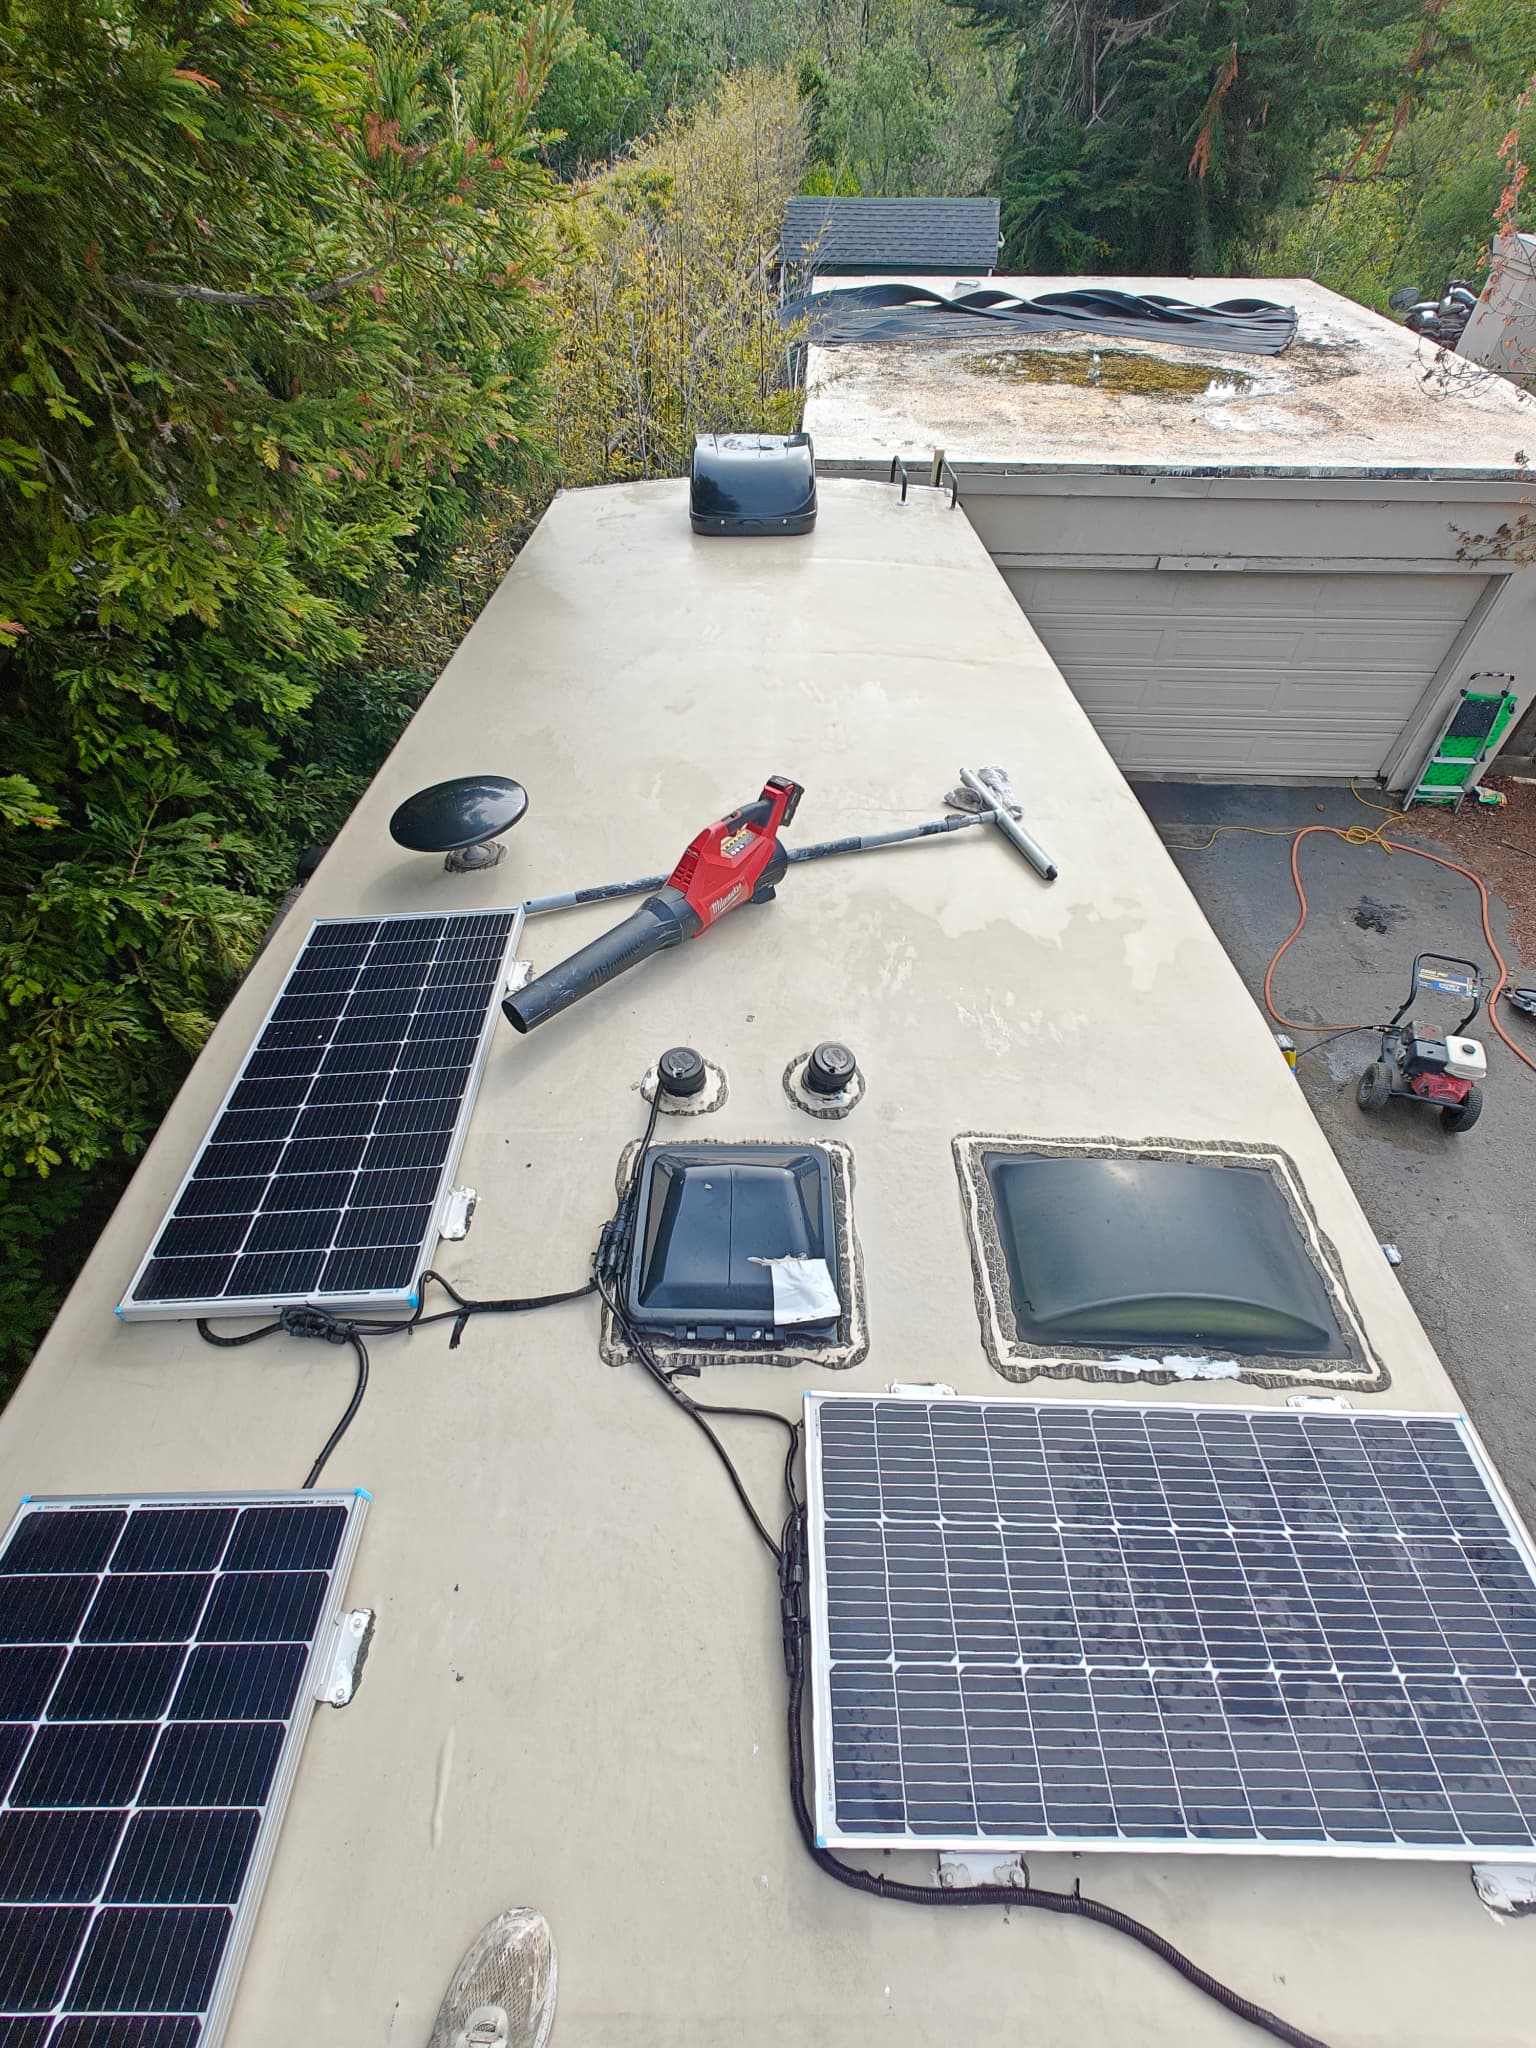
- Sweep the roof to remove dirt, dust, and loose debris.
- Pressure wash with specialized RV roof cleaner - proper cleaning ensures superior primer and silicone adhesion, a fact confirmed repeatedly by our testing.
- Remove Refrigerator Vent before cleaning for complete access.
- Clean gutters and carefully remove old sealant around caps and vents with a squeegee or multi-tool, avoiding damage to the underlying membrane.
-
Masking and Protection
- Apply masking tape carefully around all roof penetrations: plumbing vents, skylights, refrigerator vent openings, and the RV perimeter.
-
Primer Application
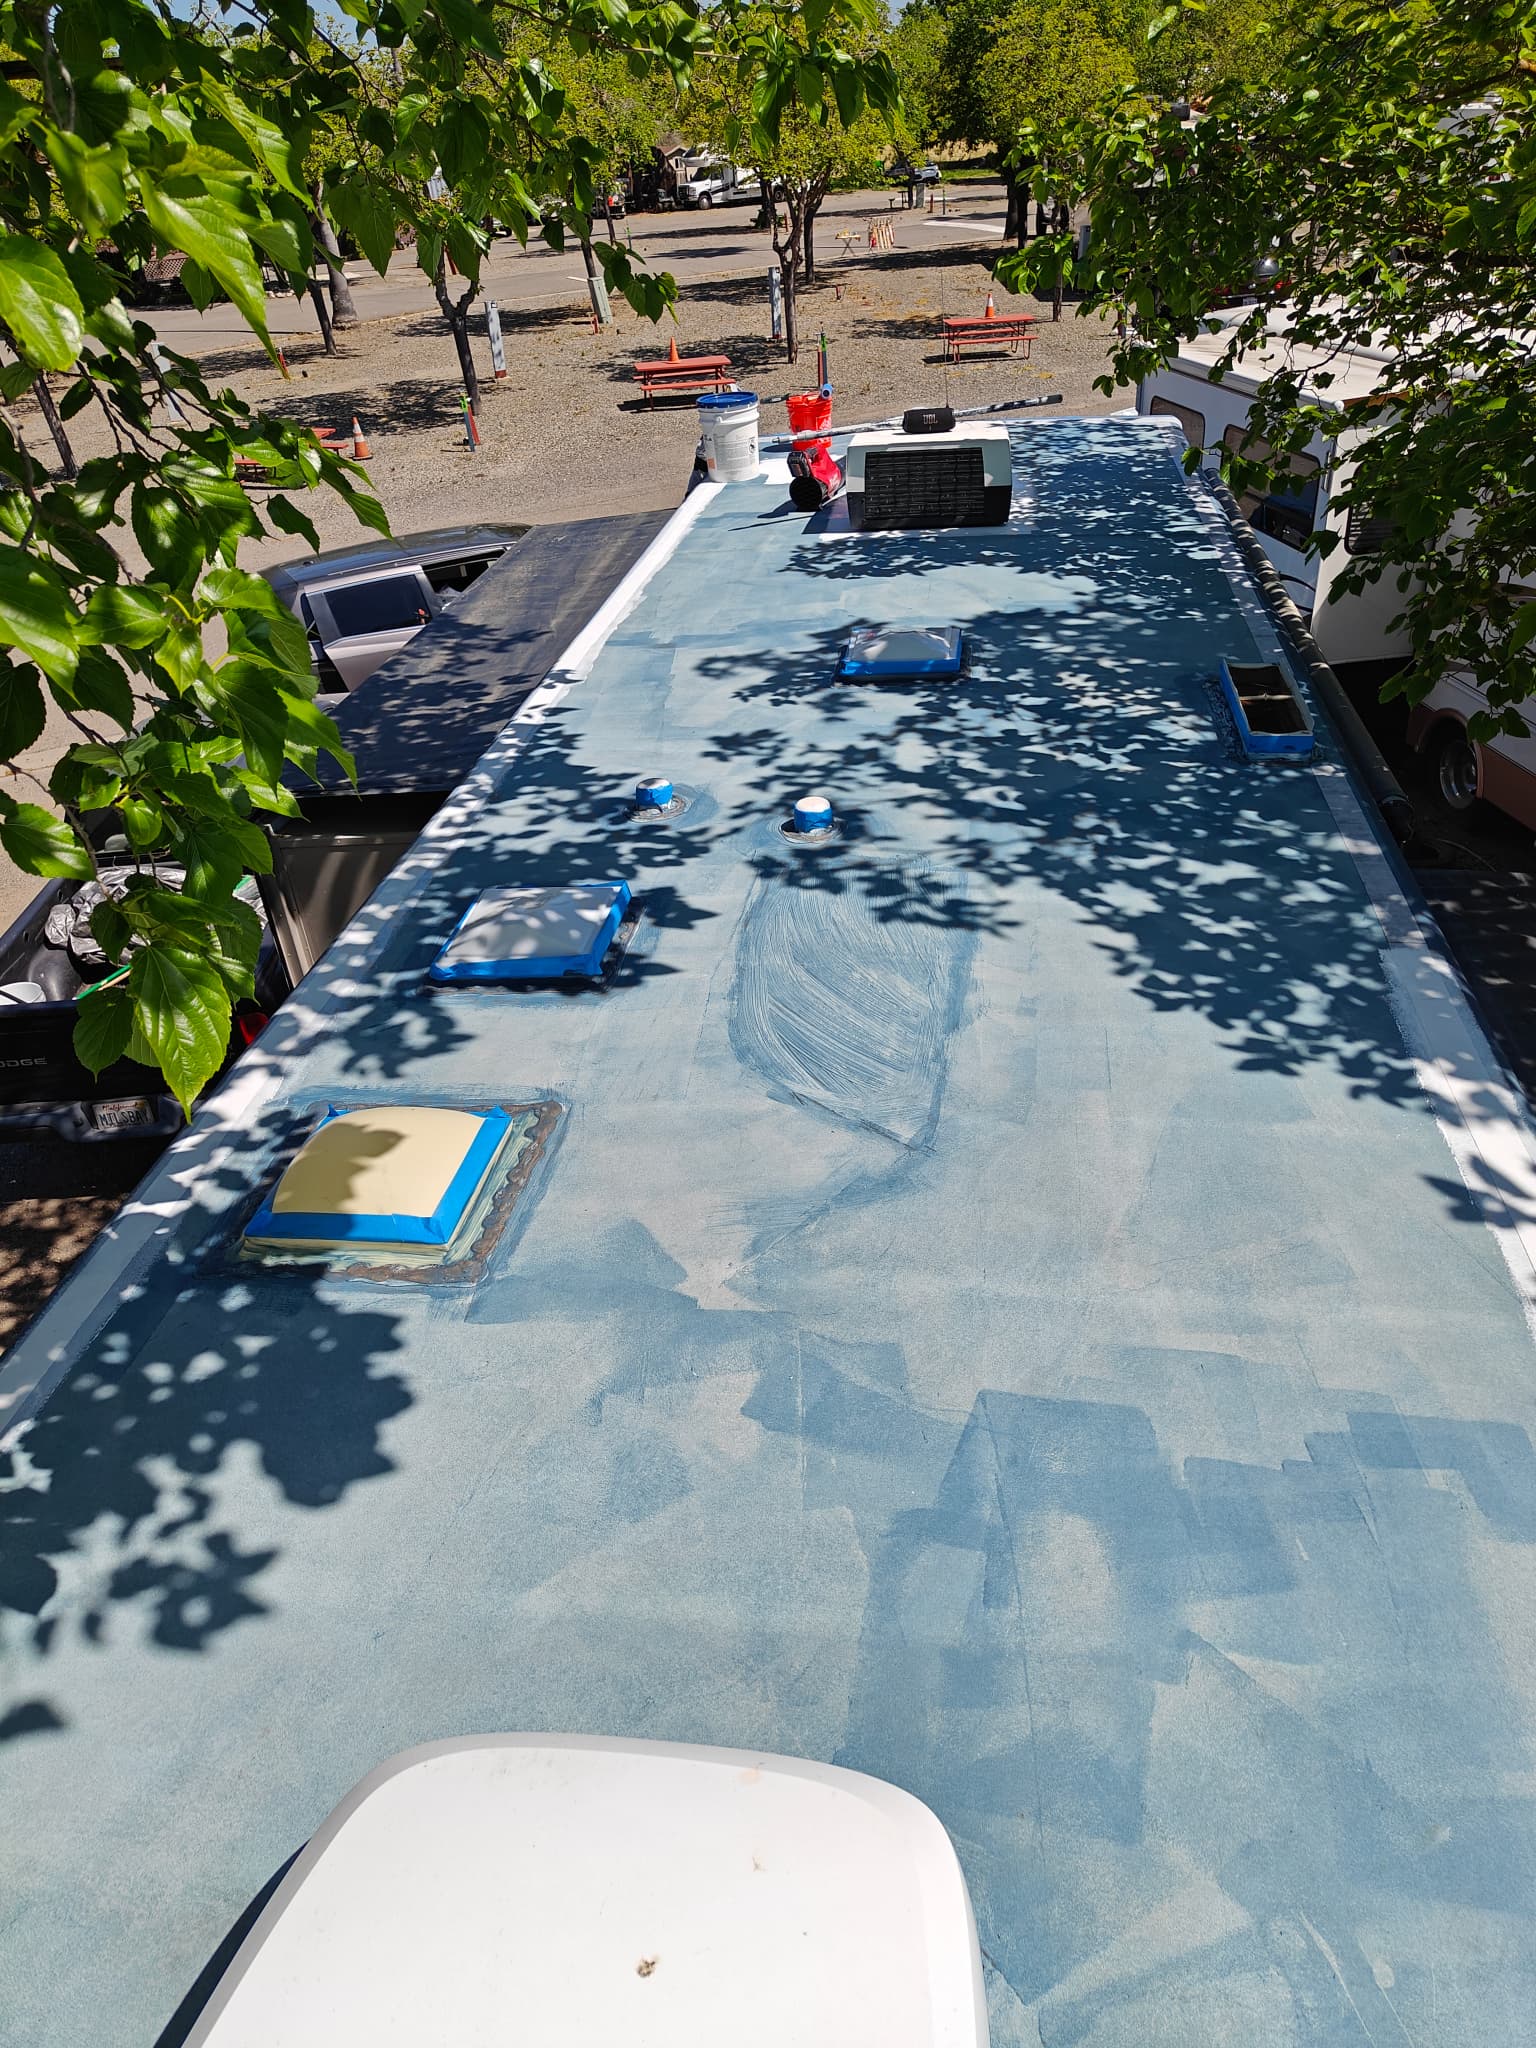
- Apply primer evenly to the entire dry roof surface. Primer is essential - we’ve tested various combinations and can confirm primer significantly enhances silicone adhesion.
-
Reinforce Seams
- Use fiber-reinforced fabric tape on front and back caps and major seams to protect against UV damage, mechanical stress, and structural movement.
-
Silicone Coating Application

- Roll on two full coats of silicone, ensuring adequate drying time between coats as per manufacturer guidelines. At RV Roof Worx, we prefer silicone for its durability and flexibility.
-
Final Inspection
- Check all seams, terminations, and penetrations.
- Apply additional silicone from a tube where necessary for complete coverage.
- Remove masking tape while silicone is still tacky to achieve clean lines.
RV Roof Coating: Cost and Pricing
RV roof coating costs vary based on materials, labor, time, and expertise required:
- Materials: Typically range from $1.20 to $20 per linear foot (assuming an 8-foot-wide RV roof).
- Professional Service Cost: Typically ranges from $70 to $150 per linear foot, which RV owners find easier to understand. The most significant portion of this cost is the technician’s experience and labor time involved in a meticulous application process.
Comparing Acrylic vs Silicone Coatings
| Feature | Acrylic Coating | Silicone Coating |
|---|
| Cost per sq ft | $0.65 - $1.75 | $1.50 - $2.50 |
| UV Resistance | Moderate, may chalk or fade | Excellent, minimal fading |
| Waterproofing | Moderate, may degrade with time | Exceptional, resists ponding water |
| Durability & Flexibility | Limited, prone to cracking | Superior, flexible even in extreme temperatures |
| Future Maintenance | Frequent reapplication needed; poor adhesion | Minimal maintenance; bonds easily to existing coat |
| Common Usage | Residential & occasional RVs | Commercial roofs & professional RV applications |
Why We Recommend Silicone
While acrylic coatings may initially seem cost-effective, our extensive experience has shown silicone to be significantly more reliable long-term. Silicone’s resistance to ponding water, UV stability, flexibility, and ease of future repairs make it the ideal choice for lasting RV roof protection.
Optimal Thickness for Protection
For best protection, we recommend:
- Applying silicone at a rate of approximately 1 gallon per 50–60 square feet.
- Two coats usually provide optimal thickness - balancing protection without causing cracking or prolonged drying times.
Benefits of Professional RV Roof Coating Services
Hiring professionals, like RV Roof Worx, provides:
- Detailed inspections: Identify and repair hidden issues effectively, including structural repairs like plywood replacement to prevent future problems.
- Expert application: Use of a tested and proven system where primer, silicone, fabric tape, fiber reinforcement, and additional custom-strengthening components work seamlessly together.
- Long-term warranties: Peace of mind knowing your investment is protected by a comprehensive warranty.
Conclusion
Investing in quality RV roof coating - especially silicone - ensures your RV stays leak-free and protected for years. Follow our step-by-step guide or trust our professional service at RV Roof Worx for exceptional results. Your RV deserves the best protection; silicone coating offers exactly that.